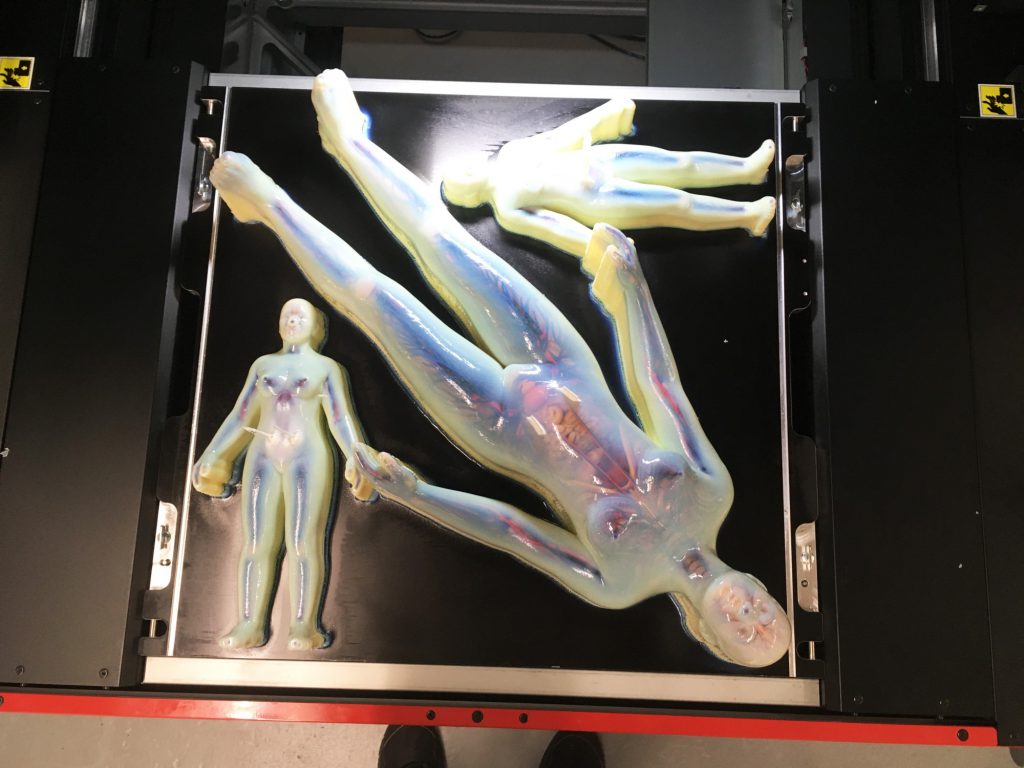
As we keep experimenting with our full-colour 3D printer, we have been working hard on figuring out how to get good clear models with a minimum of hands-on post-processing. Any hands-on labour costs big money so, the more we can automate the process, the more money we save. When models come off the printer, they are surrounded with a water-soluble wax support material.
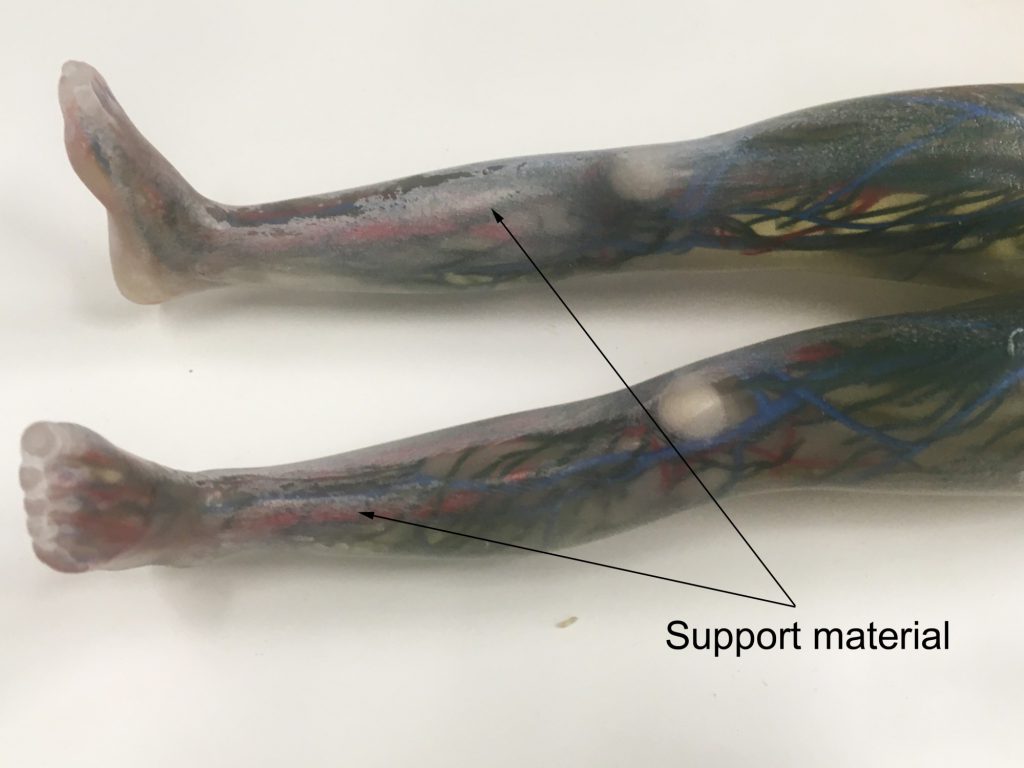
The bulk of this support material first gets removed by hand. Once the bulk of the material has been removed, the remnants are removed either in an ultrasonic cleaning bath, or by wet sanding it off with 120 grit wet/dry sandpaper. However, even after this, there is always a small remnant of wax or other contamination still attached to the model surface.
From this point, we have found 2 main tricks to achieving a good finish:
The first is getting rid of every last spec of support material, as any remnant left on the model becomes permanently visible once the clear-coat is applied. To clean the models, we have found two main methods to be effective:
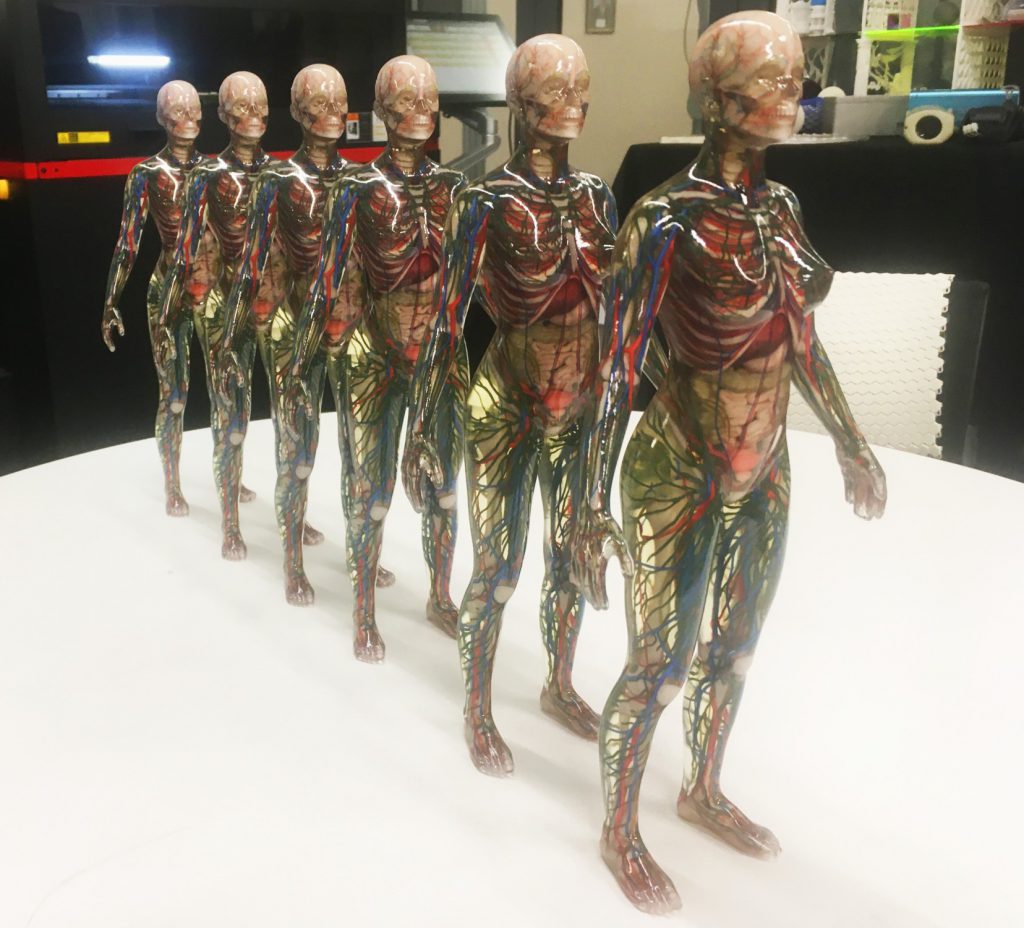
Either mechanically by bead-blasting it off if the shape is complex (which takes only a few minutes compared to hours of hand-sanding). We blasted the 6 models at the top of this article with glass beads (although some of them were also sand-blasted (more abrasive than glass beads) to remove previous trials of different clear-coat brands). Although bead-blasting (or sanding) may appear to be reducing the clarity of the clear material, it goes instantly back to transparent when the clear-coat is applied.
Or chemically by adding some triethylene glycol monobutyl ether (a solvent commonly used in textile dye processes) to the ultrasonic bath, or even wiping the cleaned model with a bit of the chemical on a rag. After any ultrasonic bathing, with or without chemical, it is also important to always rinse the model in water when it comes out of the bath. Even after this, however, it is important to examine the surface to see if any patches of contaminant remain and, if so, give them a quick sand with some sandpaper.
Ultrasonic cleaning can take quite several hours but, at least, does not require any labour. But, if the shape is simple, and you are in a hurry, then hand-sanding the last bits of wax or contamination from the model with a bit of 240 wet/dry sandpaper may still be the fastest.
Once your model is fully clean, we found that the next big secret is finding the right clear-coat to use. Surprisingly, with the right clear-coat, one does not need to sand much beyond a 240 grit (or sometimes 400 grit), as a good quality clearcoat fills any small scratches and layer-lines. We have tested well over a dozen types/brands of clear-coat before we found the 2K clearcoat by Molotow to, so far, work the best (Molotow Urban Fineart 400ml Varnish 2K). It goes on nice and thick, with minimal running, and two, or three, coats of it completely makes any stair-case layer lines completely disappear and leaves a beautiful ‘wet’ looking clear surface. But it is expensive so if anyone has any other suggestions they will be most welcome.

Written by: Olaf Diegel – Professor of Additive Manufacturing at the University of Auckland
https://www.linkedin.com/pulse/eat-your-heart-out-westworld-cleaning-3d-printed-models-olaf-diegel/